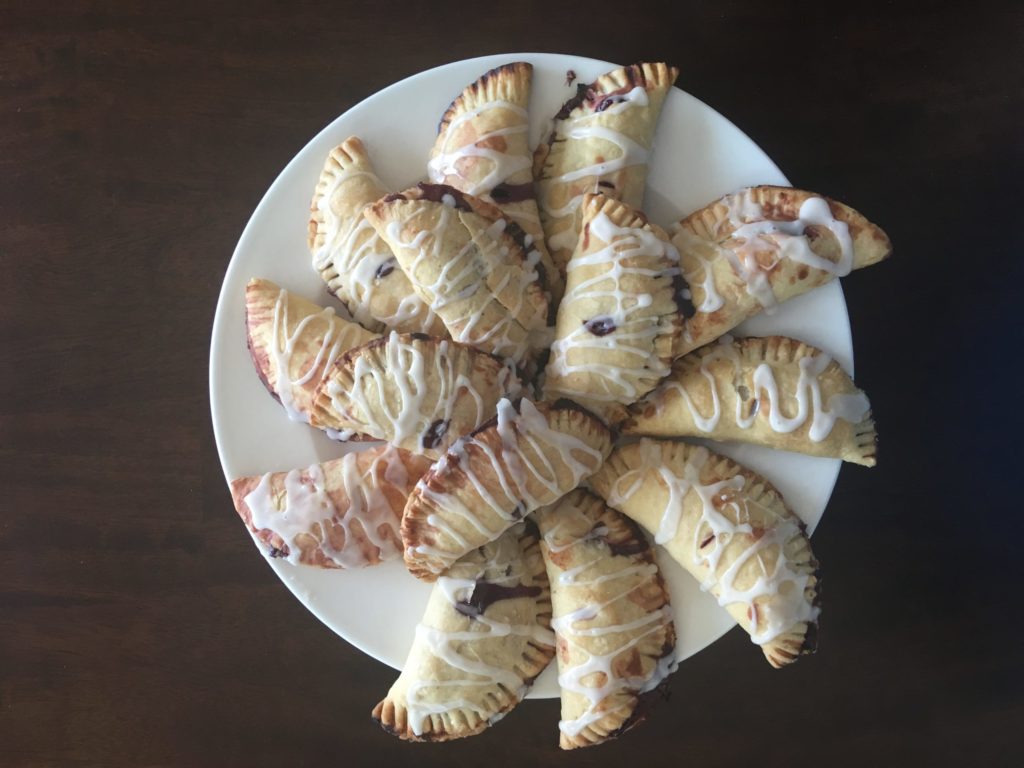
Some days, you just need some pie. But what if you don’t have a fork? No worries. Hand pies have got you covered.
I love these little pastry pockets so much that they’re one of the first dishes mentioned in the Call of the Crow Quartet, right there in Chapter Two of When We Vanished. In the text, though, I called them turnovers. This is the term I used until recently, when the much cuter (or maybe slightly macabre, depending on how you choose to interpret it) phrase “hand pies” jumped onto the scene.
But no matter what you call them, what’s not to love about a flaky, portable pie? The recipe that follows uses a coconut oil crust, so it’s vegan-friendly. If you want to make it gluten-free too, you could substitute your favorite GF baking blend for the flour. The filling is quite basic, allowing the cherries’ natural flavor to shine through, and it isn’t overly sweet. Feel free to taste it and add more sugar if you like it sweeter, or jazz it up a little with additional ingredients (lemon zest, almond or vanilla extract, cinnamon, etc.).
The recipe is easily doubled if eight pies won’t cover your pastry needs. I know it was barely enough for my pie-loving family!

Cherry Hand Pies
Ingredients
Filling Ingredients
- 10 ounces cherries, pitted; frozen or fresh
- 2 Tbsp sugar
- 1 Tbsp arrowroot or cornstarch
- 3 Tbsp water
Crust Ingredients
- 1 cup all-purpose flour
- 1/2 tsp sea salt
- 5 Tbsp coconut oil, solid
- 3-5 Tbsp ice water
Instructions
Make the Filling
- Combine cherries and sugar in a saucepan. Cook over medium heat until mixture starts to simmer, about 5 minutes.
- Whisk together arrowroot/cornstarch and water in a small bowl, then pour into the cherries, stirring constantly. Cook another minute or two until thickened.
- Remove from heat and allow to fully cool to room temperature. If you're pressed for time, you can stick the saucepan in the freezer and stir every so often. Just make sure you don't forget it's there! (Not that I've ever done such a thing….)
Make the Crust
- Preheat the oven to 375° F.
- While the filling cools, make the crust. Mix together the flour and salt, then cut in the coconut oil using a pastry cutter or two knives. Note, the oil needs to be solid for this recipe, so if it's summer and your coconut oil has melted in the heat of the house, you'll need to put it in the fridge until it firms up.
- Once the coconut oil has been incorporated (make sure there aren't any large chunks remaining; the mixture should look sandy), add the water a tablespoon at a time. Mix with a fork until the mixture starts to come together. You don't want to add too much water or the crust will lose its flakiness, but if you don't add enough it will be difficult to roll out, so stop adding water when you are able to form the dough into a ball.
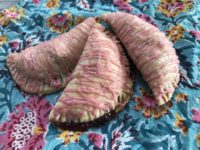
- Roll out the dough. At this point, you have several options. You can either cut it into squares for triangular pies, or use an upturned bowl like a cookie cutter to cut out rounded pies. The bowl method tends to make more uniformly sized pies (unless you break out the ruler, I guess) but involves more rolling since you have more scraps. Up to you!
- Place the dough squares/circles onto your baking tray and fill each one with a few tablespoons of the cherry mixture. Try not to overfill or you'll have a lot of juice spilling out when you seal them up.
- Seal the edges with a fork and slice a small opening in the top to let steam escape. You can also sprinkle the top of the pies with sugar at this stage.
- Bake for 25-30 minutes at 375° F. When finished, the bottoms should be golden brown and there will probably be a few delicious little pools of cherry filling bubbling on the pan.
- If desired, you can drizzle with a simple glaze (confectioner's sugar mixed with a small amount of non-dairy milk and/or vanilla extract). Or just serve as is once they've cooled for a few minutes. Enjoy!
Your Thoughts
If you try this recipe, let me know what you think! Any questions about ingredients or prep instructions? Take to the comments!
Pingback: Cherry-Rose Turnovers - Alanna Peterson