Though I wish I was coming at you today with a topical, thought-provoking essay on current events, these last few weeks have been really exhausting… so this recipe is all I’ve got. But it’s a good one!
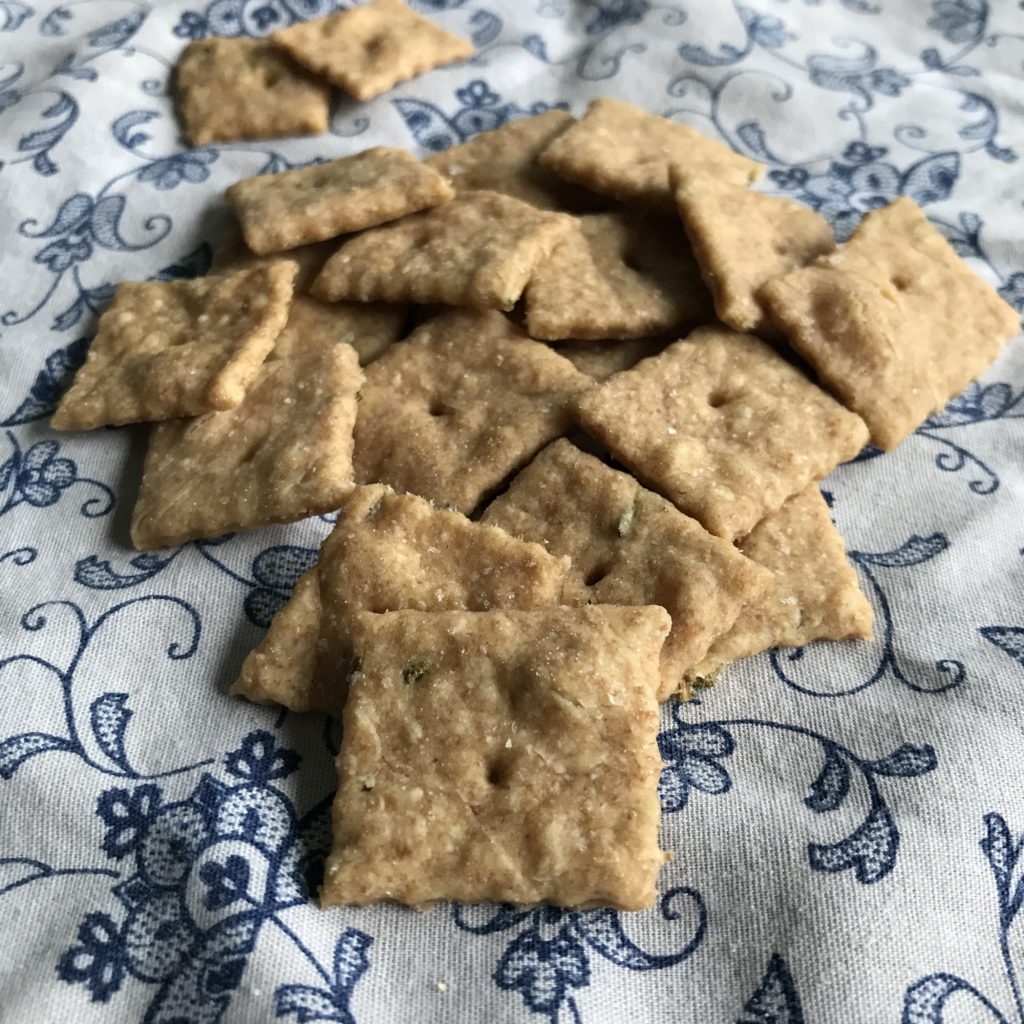
I can’t remember where I found the original version… it was online somewhere, but I wrote down and stuck it in my recipe box. I made it a few times, and fell in love with these little sourdough morsels that taste EXACTLY like Cheez-Its. (Though you can take that with a grain of salt, since it’s been a while since I’ve actually eaten one.)
But they never entered regular rotation, because baking them was just so labor-intensive. The crackers never baked evenly, so I would constantly be opening the oven to remove the crisp ones. Then I’d have to keep a vigilant eye on the rest so that they all got to the desired degree of crispness without burning. It was just a little too much for me!
WELL. I’m posting this recipe today because I finally unlocked the secret to crackers that are perfectly crisp every time! And, even better, this method is something even a lazy baker like me can get behind. I’m definitely not the first one to discover this little life hack (for all I know, it’s common knowledge), but it’s been a real game-changer for my cracker game, so I wanted to share it with you too.
OK, are you ready for the big, exciting reveal?? Here’s my not-so-secret method: turning the oven off once the crackers are baked and letting them sit inside while it cools.
Does that seem a little anticlimactic? Perhaps, but the results are truly amazing. The cooling oven is apparently a very good dehydrator, so this method also works great for making crispy baked tofu or roasted potatoes.
Now that you know my secret, are you ready to make some DIY crackers?? Thought so! (Although since these are sourdough, there is a fair amount of resting time involved, so it won’t be instant gratification. But this method works just as well with any other cracker recipe!)
Sourdough Crackers
Ingredients
- 1 cup sourdough starter
- 1 cup whole wheat flour
- 1/4 cup olive oil (plus more for brushing)
- 1 tsp salt
Instructions
Prepare the Dough
- Mix all ingredients in a glass bowl. Cover and allow to rest for at least 7 hours, or overnight.
Roll Out the Crackers
- On baking day, preheat the oven to 350° F.
- Punch down the dough and knead for a minute or two. Divide in half.
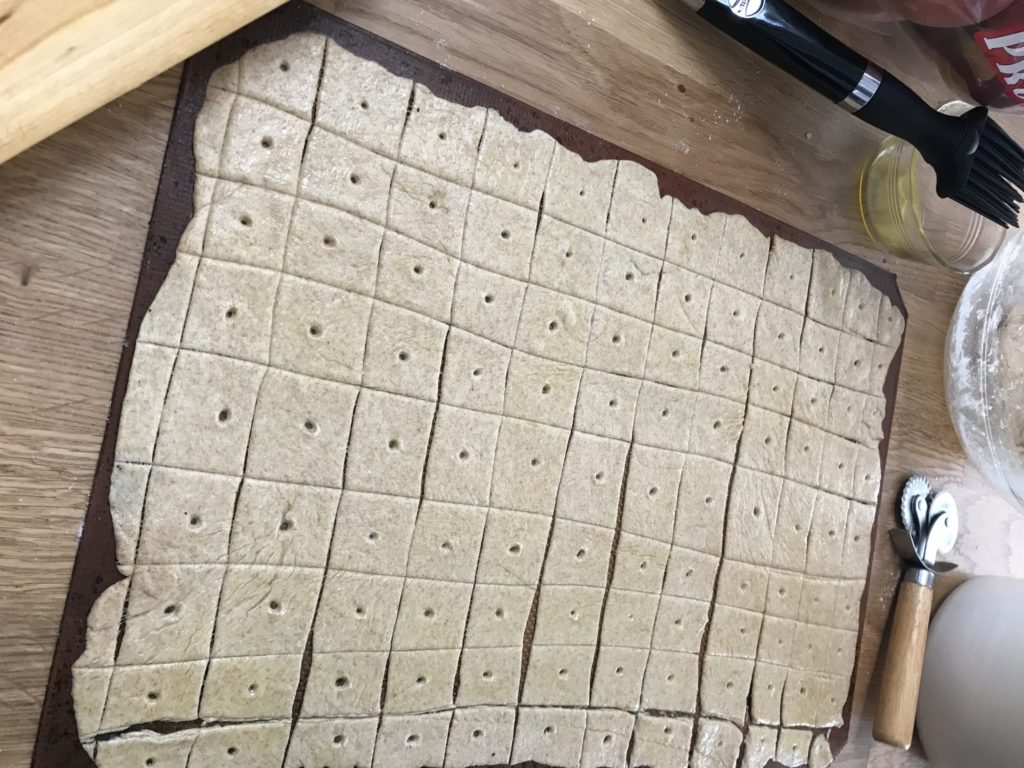
- Roll out one half of the dough onto a Silpat or parchment paper. It will be a little wet, so feel free to add a bit more flour to prevent it from sticking to the rolling pin. Try to get it into a thin, uniform layer, but it's okay if some spots are a little thicker than others.
- Brush with olive oil and sprinkle with a little additional salt. (The oil helps the salt stick better, but isn't strictly necessary.)
- Cut dough into crackers of whatever size you desire. For small crackers like the ones shown, I recommend poking each with a chopstick to allow air to escape while baking.
Bake the Crackers
- Transfer the Silpat/parchment onto a baking sheet. Bake for about 15 minutes, until the bottoms are brown. Remove from oven, even if they aren't completely crisp yet.
- If you have an extra Silpat/parchment piece, you can prepare the second batch while the first is baking. If not, transfer the first batch of crackers to a new baking sheet or ovenproof container, and roll out the second batch of crackers.
- After the second batch has baked for about 15 minutes and the bottoms have browned, turn the oven off, then return the first batch to the oven.
- Let both batches sit in the oven while it cools. This will allow all the remaining moisture to evaporate from the crackers so that they get delightfully crisp.
- Check on them after about half an hour, and test one of the thicker crackers. Let them sit a little longer if needed – they're fine to hang out in there for hours (I even left them in overnight once, accidentally, and they were still just fine the next day. Phew!)
- Once cooled, they will keep in an airtight container for a week or so… but good luck getting them to last that long!
Your Thoughts
Have you tried this method before? Does everyone already know about this trick that was news to me? (Wouldn’t be the first time!) Do you agree that these crackers taste just like Cheez-Its? Let me know in the comments!